Settings - general
From this section you can edit the global configuration of the site:
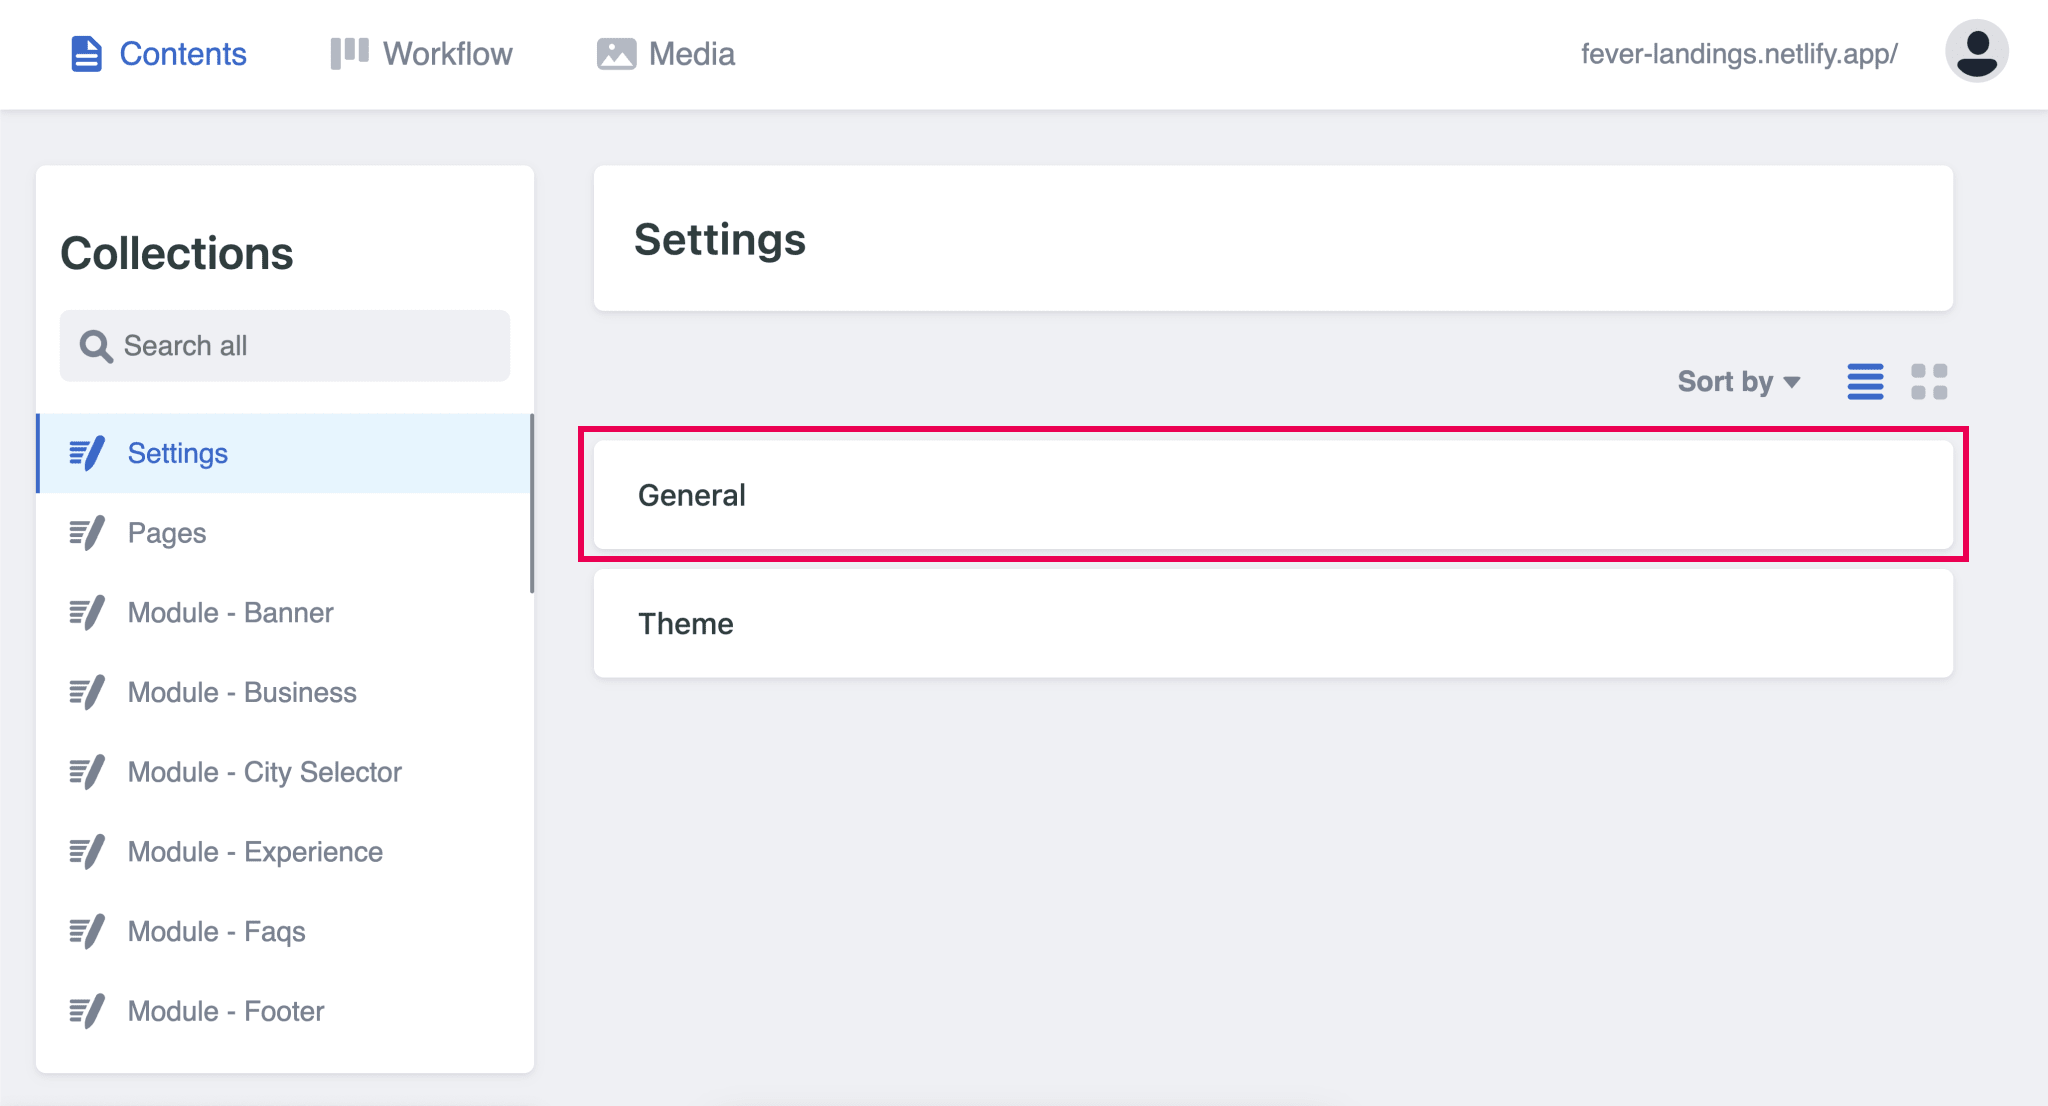
Here we will add the URL (BUCKET) to which our landing belongs. We will also define if it is a single city or will have several cities.
CMS Update for new landings — The way we define the domain (bucket) where the landing publishes to was done through Settings > General > Deploys. Now this has been moved into a Data - Deploy collection. Pages now have a relation to choose from the defined Data - Deploy.
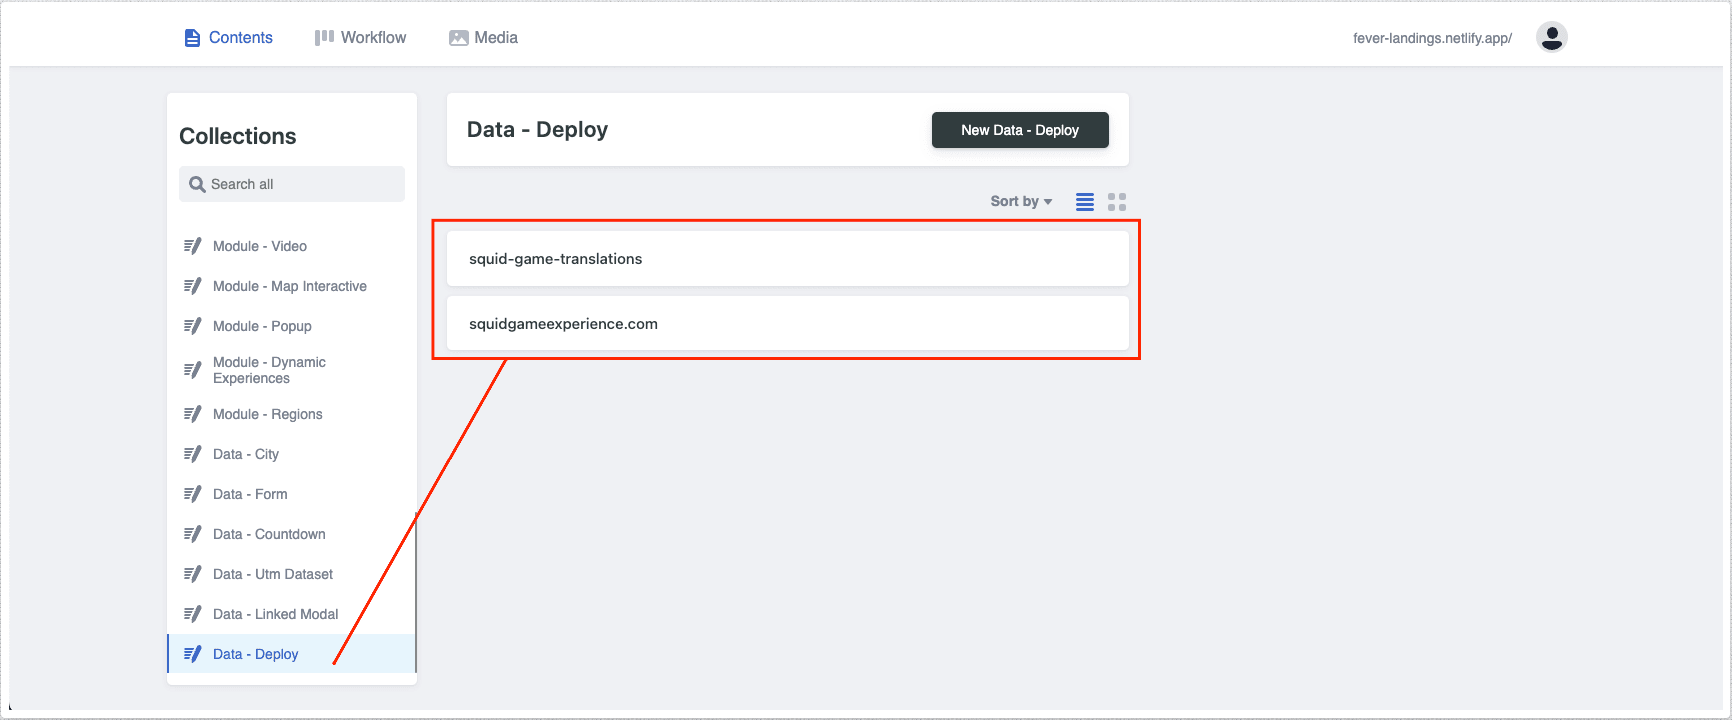
The reason of this change is to avoid a case in which buckets were not being updated all across pages when modified in Settings, now modifying a bucket in the Data - Deploy affects all pages in which it is being used.Find some screenshot attachments to understand the change better.
Data - Deploy collection

It is also very important that you have previously made the request to Systems from the landing structure. You can make the request through [this link].
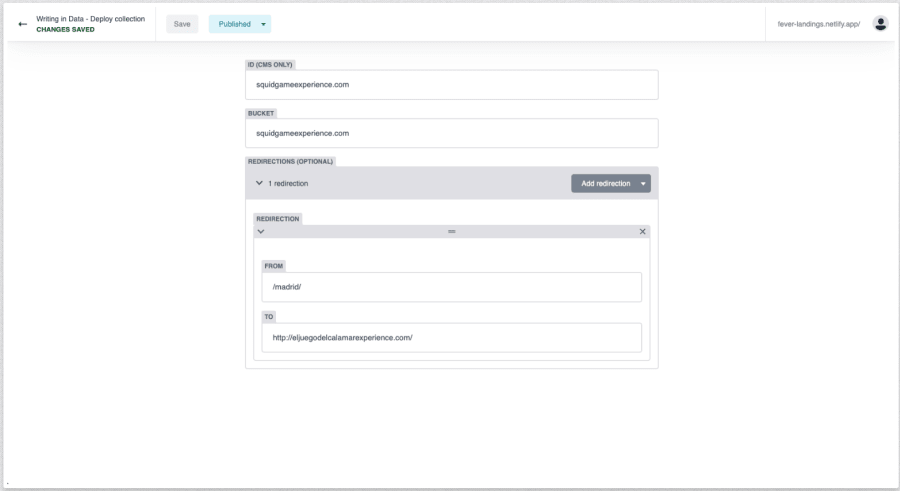
Here you must fill the required info as seen in the next image:

There are two scenarios where this feature can be useful:
1 - Same experience but different domain for specific cities or languages.
In some cases you will need to have one or more cities of a experience in a different domain than the main. For example:
Main domain for Barcelona: dalichallengebcn.es
But for Madrid you need: dalichallengemadrid.es
-
2 - Published Previews - No Stacked Changes
Other scenario where this feature is useful is when there is a public deploy already working and you need to add a new page and keep it on hold for a indefinite period (e.g. during the time that the partner provides a content, maybe several days).
To avoid to have this page as stacked changes for a long time, because this can lead to conflicts, you can create it and assign it to a preview bucket.
IMPORTANT: The preview bucket can not contain any dot ("."). You add it only when you want to publish your page.
-
To add an additional bucket, the process is the same than the original:

You can assign an specific bucket through the field BUCKET in the edition of each page.
If you are using this feature to create a preview link remember to publish your changes. This will not affect the publish landing.
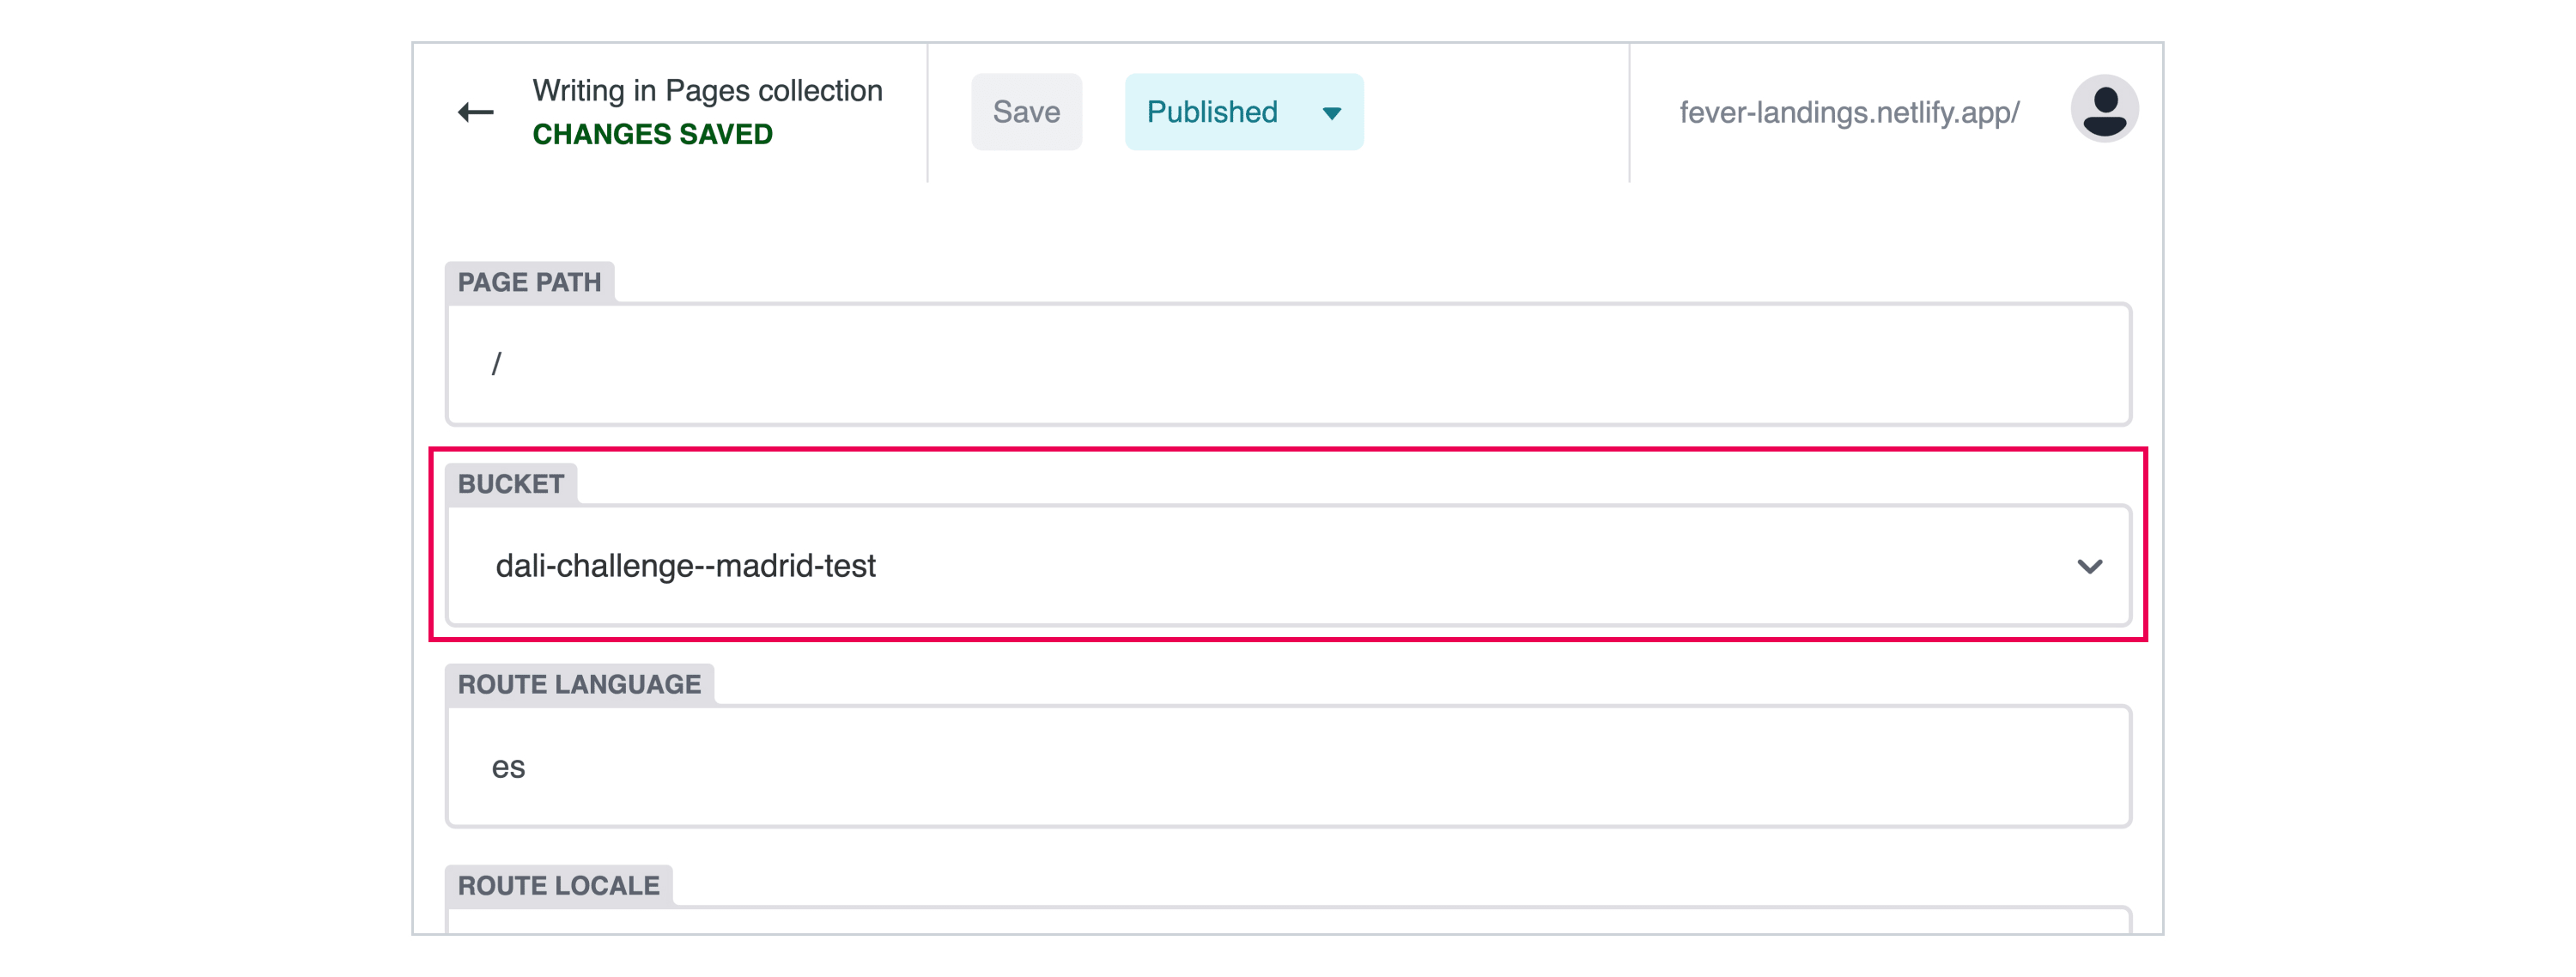
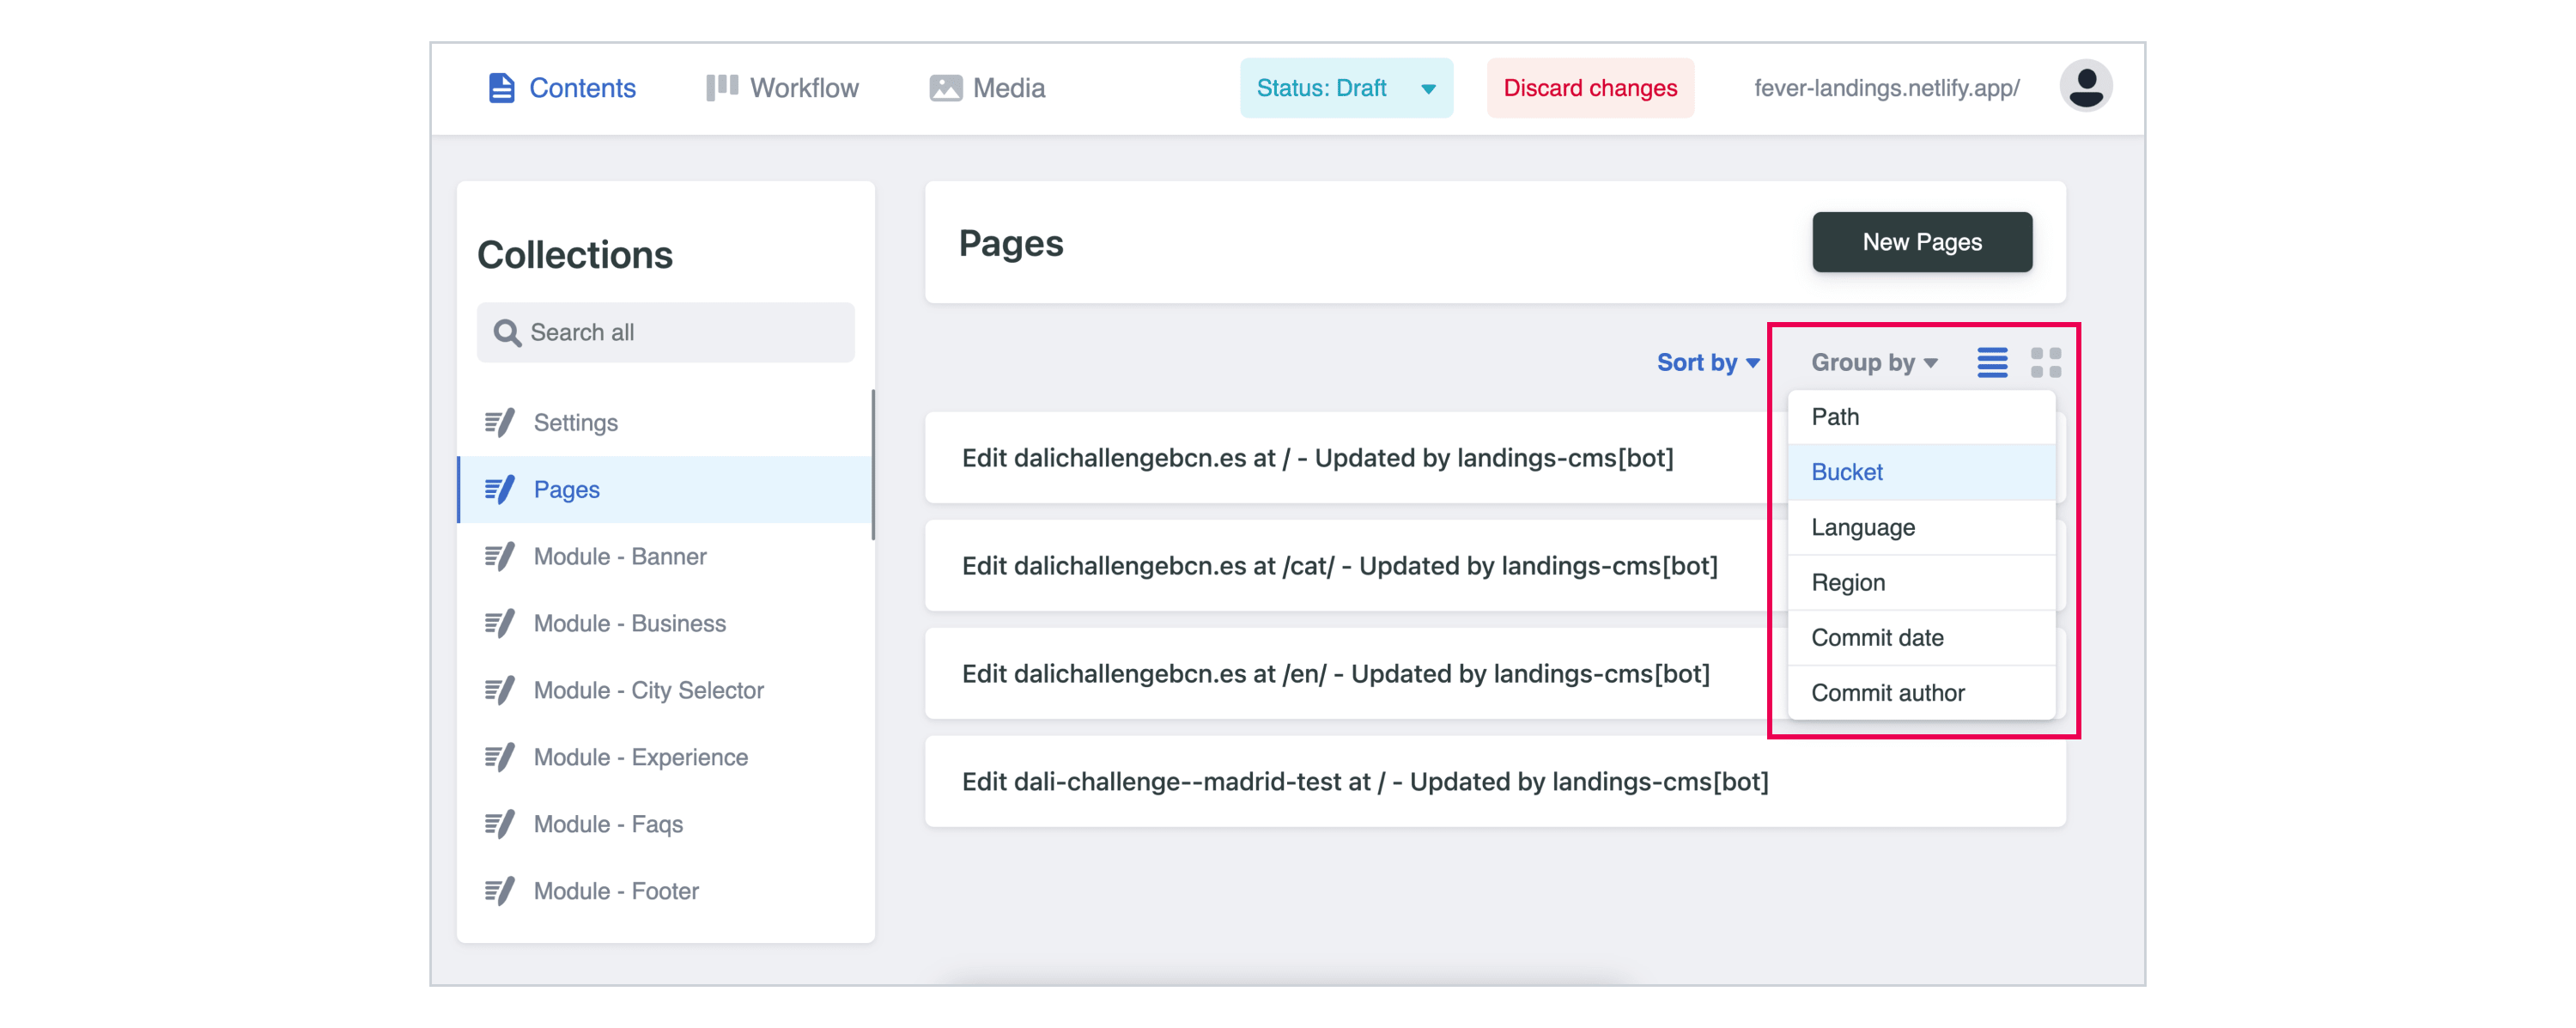
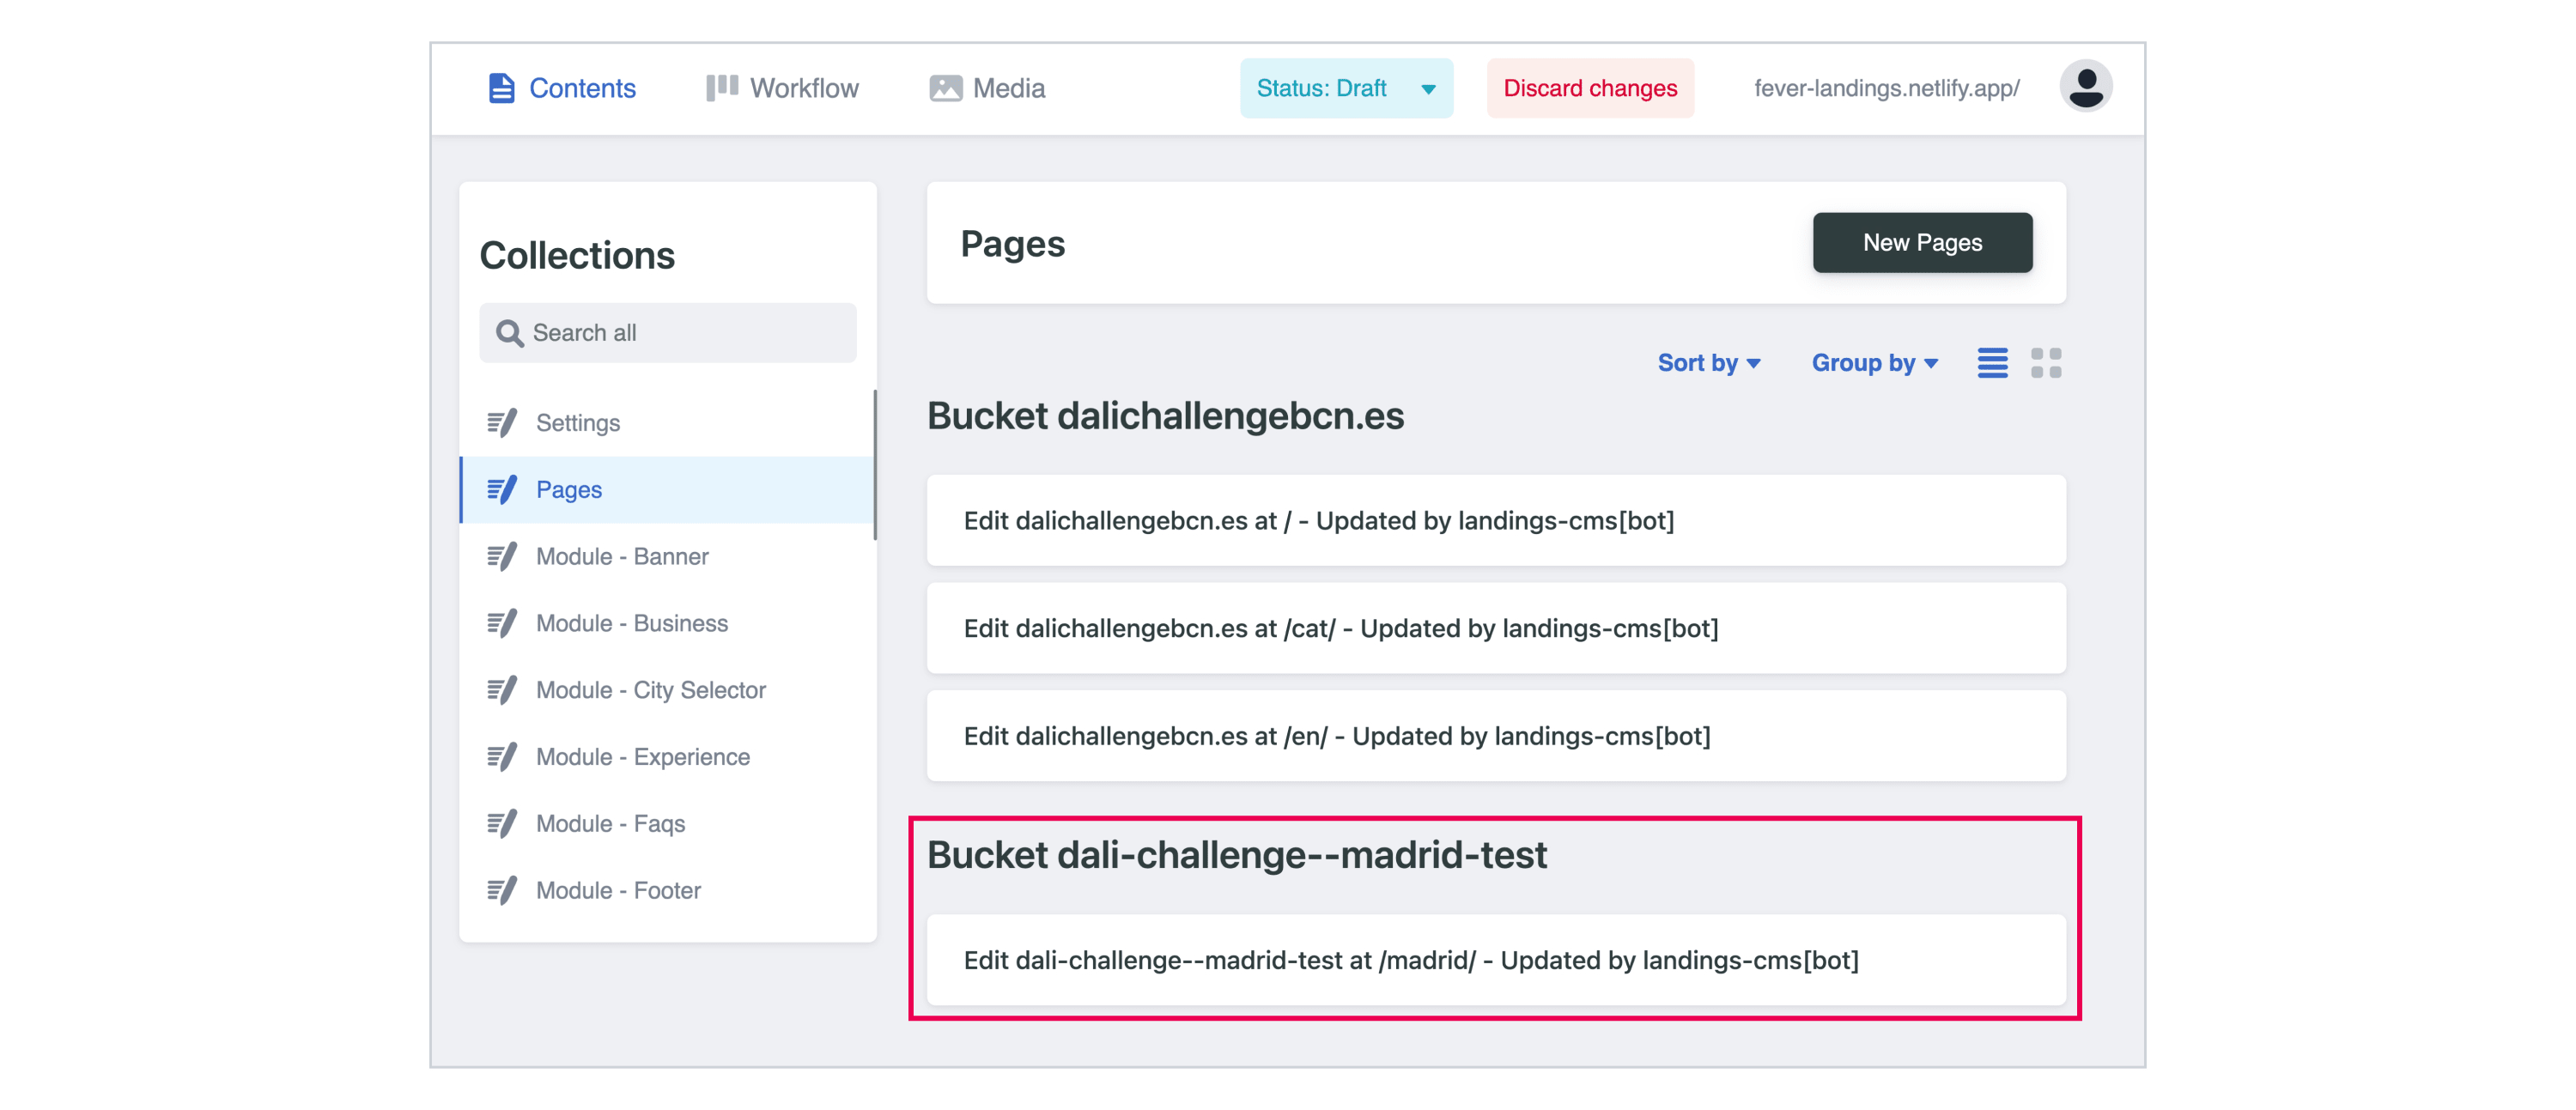
To know this information without enter in each page settings, you can use the dropdown "Group by" in the "Pages" list and select "Bucket".
This will separate the list for each bucket.
In this tab we will have to add the correct code that we will need to track the landing from Google.
The Facebook pixel also comes by default and should not be changed unless you specifically ask to do so.

For the Favicons you can pick them from several websites that offer the service (recommended: https://realfavicongenerator.net/) and you would need the measures that are specified in the CMS.
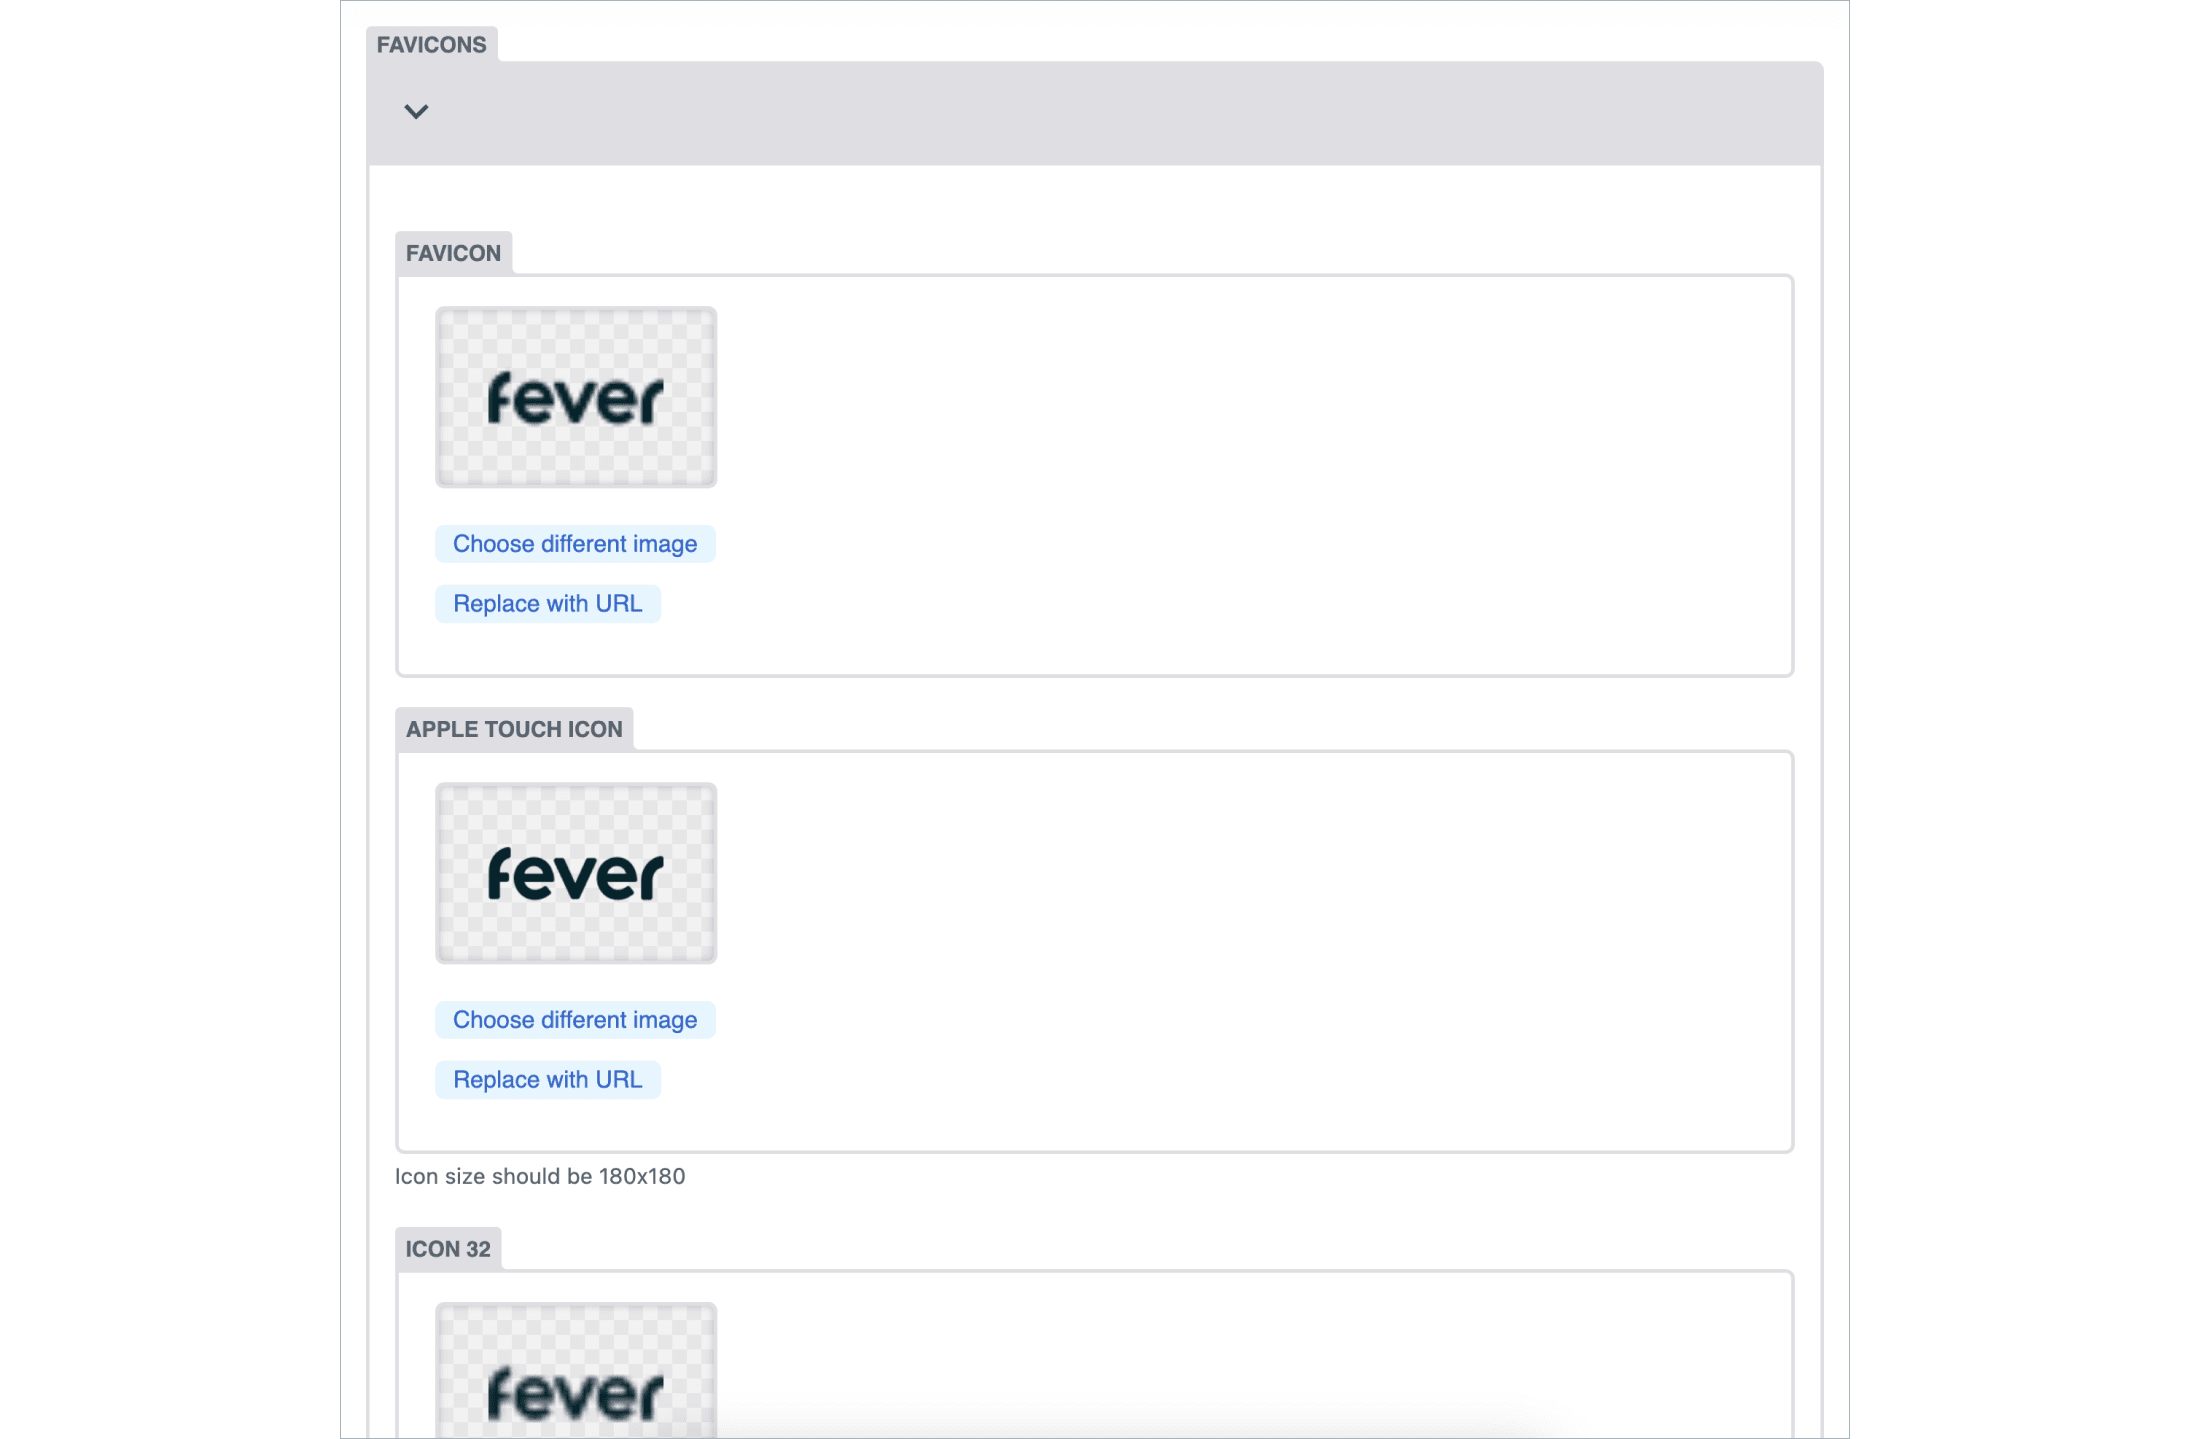
It is important to complete all favicon sizes to ensure correct visualization on the multiple devices and applications where it is displayed.
